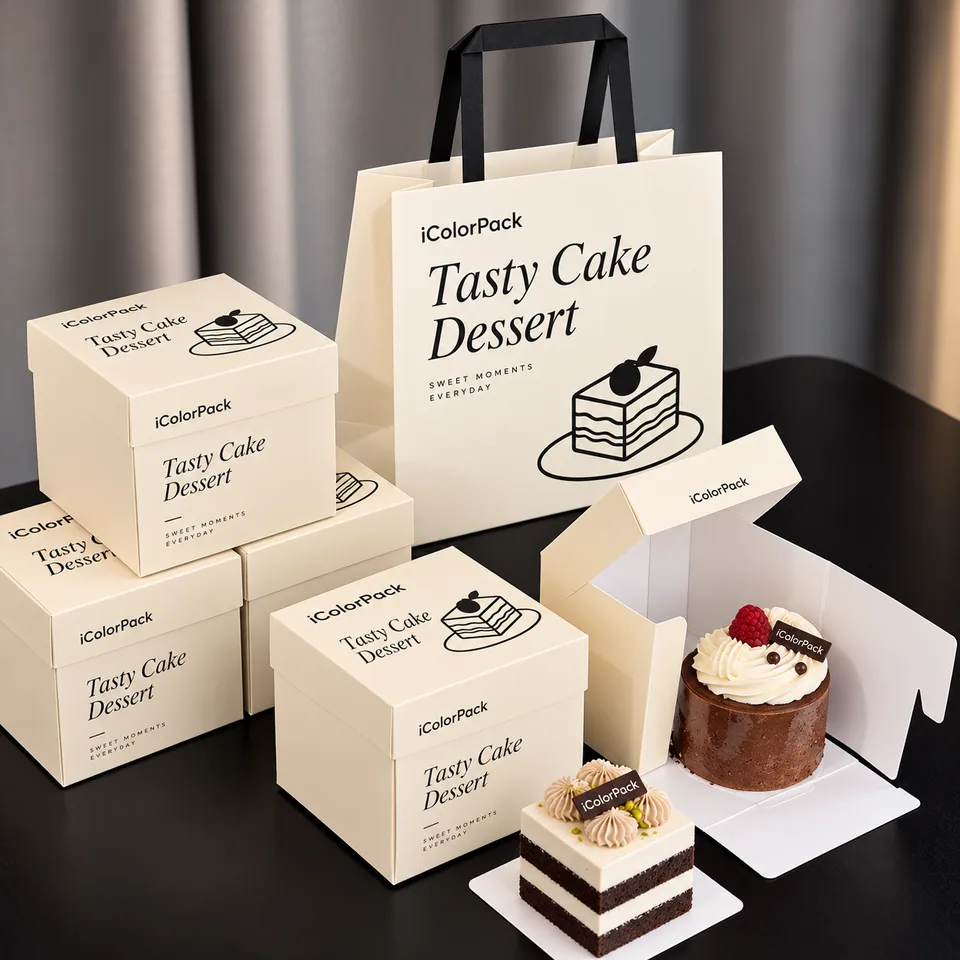
Size a cake box around the cake board and finished decoration, not the sponge alone. Review usable height, side clearance and the opening method before choosing paper and print.
Cake packaging needs to work for the person placing the cake inside as well as the customer taking it out. A side-opening carton may reduce the need to lower a decorated cake through a narrow top. A taller lid can provide clearance, but extra empty height also increases the packed volume. Describe whether the order is for individual slices, mini cakes or larger celebration cakes.
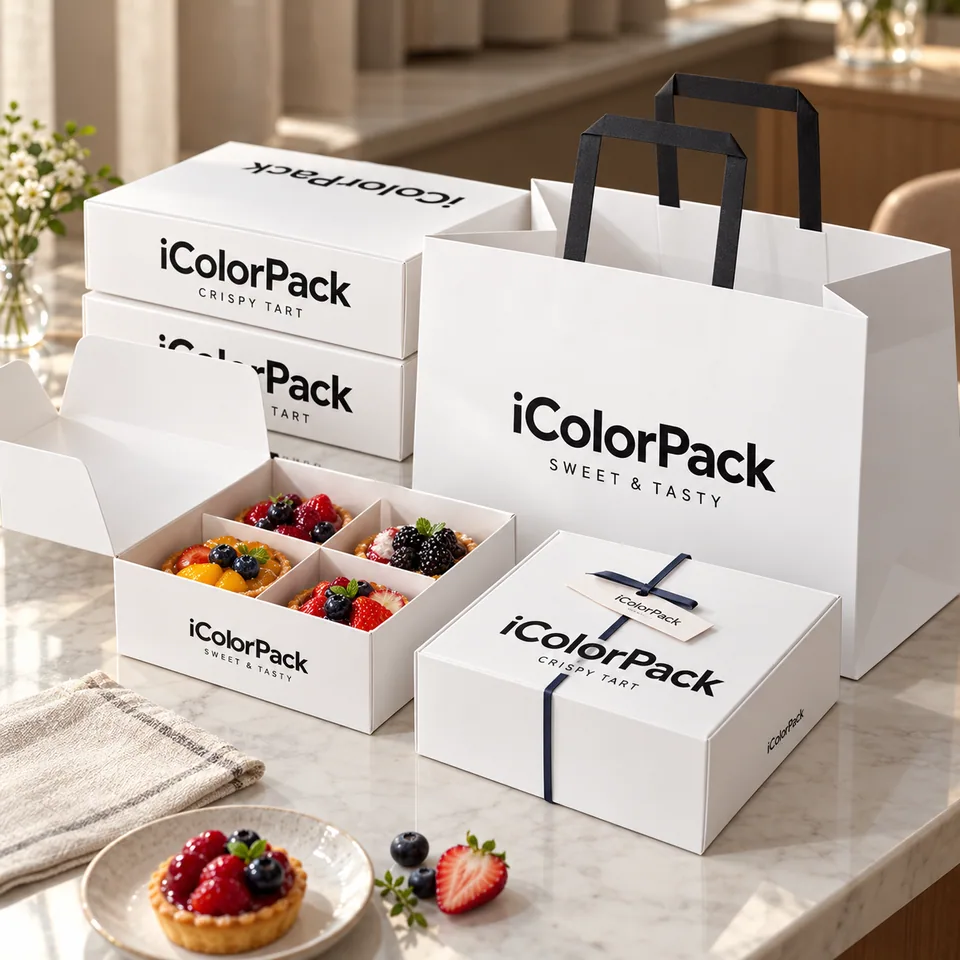
Use the illustrated design as a visual brief. Send the packed dimensions, weight and quantity per design before comparing proposals. The final specification should distinguish the decorative outer packaging from every insert, liner, wrap and accessory.
SPECIFICATION CHECKLIST
What to confirm in the brief.
Planning inputs, not fixed stock specifications. Measurements and materials are agreed for each project.
Decision
Information to provide
Board footprint
Give the full cake-board width and depth, including tabs or a scalloped edge.
Finished height
Include icing, toppers and any supporting stand.
Opening route
Top loading, front opening or removable lid; discuss the packing sequence.
Storage conditions
Describe chilled storage, display duration and transport conditions so the material can be reviewed.
COMPARE THE TRADE-OFFS
Which format fits your project?
Option
Useful for
Check before approval
Front-opening folding carton
Loading a decorated cake from the side
Check base locks, side-wall stiffness and assembly time.
Separate lid & base
Clear access for gifting
A ribbon or bag does not automatically secure a loose lid.
Small dessert carton
Individual portions and counter service
Specify the actual slice or mini-cake arrangement.
One point buyers often miss
Do not infer moisture performance from paper thickness. If the box will move between chilled storage and a warmer room, test the chosen construction in that actual route and discuss moisture exposure before approving it.
BEFORE BULK APPROVAL
Check a loaded sample.
Record the artwork revision and agreed material choices with the approval sample.
Load the cake on its intended board.
Open and close without touching the decoration.
Inspect base rigidity with the complete packed weight.
Review the carton after the intended storage and carry sequence.
COST & DELIVERY
Compare the whole order.
For custom cake boxes with logo, ask what the quotation includes: finished packaging, setup, tooling, sample, accessories, protective packing and freight. Keep quantities per size and design explicit. A low unit price can represent a different scope.
Request the packing format, units per carton, carton dimensions and gross weight. Compare a simpler format if a small initial run or shipping volume makes the original design impractical.
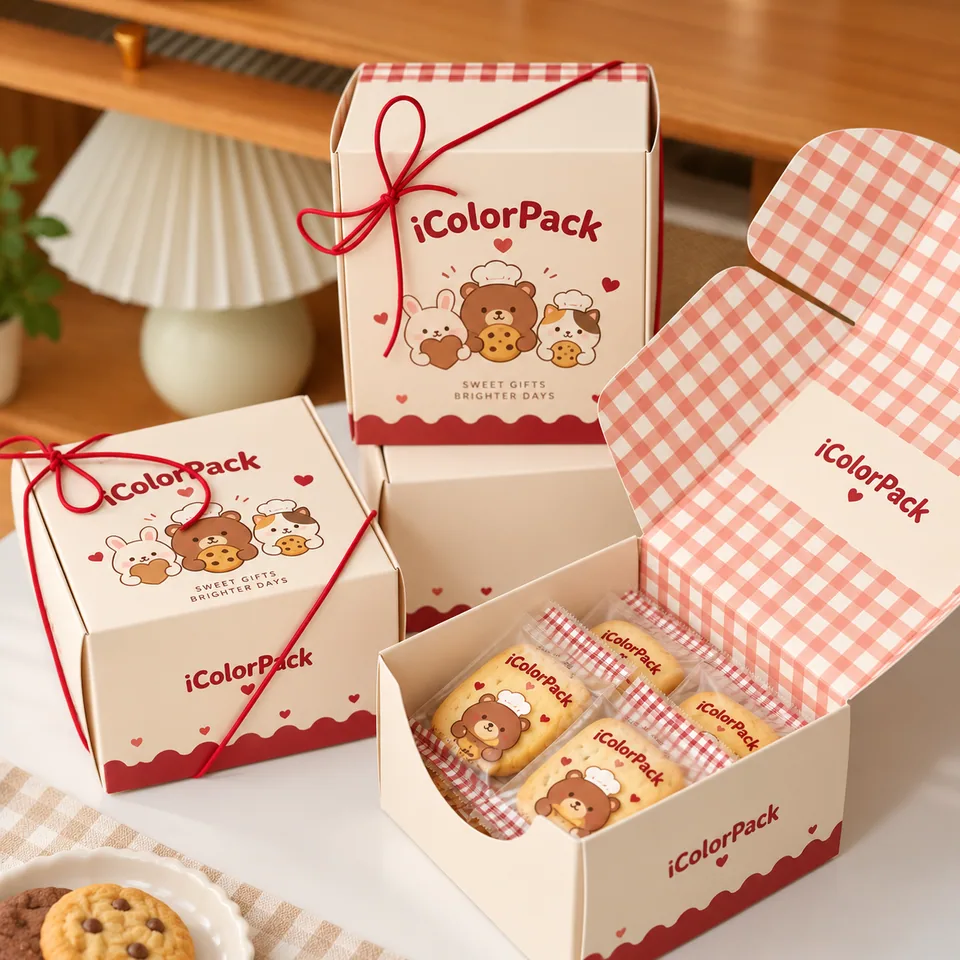
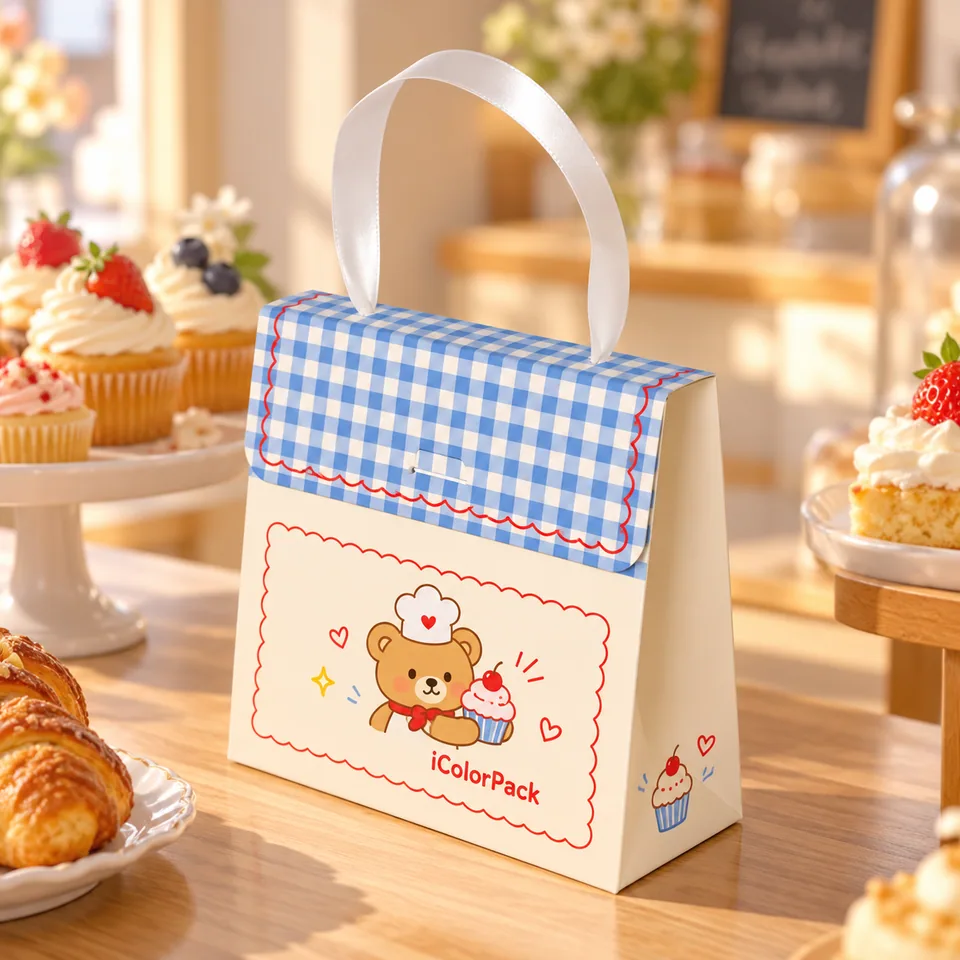
A bakery range can combine quick-service cake cartons, gift-ready cookie assortments and insert-based chocolate boxes while retaining a shared graphic identity.
01
Portion & support
Measure the cake board or tray as well as the dessert. Include the tallest decoration, wrapper and removal clearance. For assortments, list each portion and its orientation so that dividers do not crush toppings or leave fragile pieces free to move.
02
Contact layers
Identify which parts touch the food: liner, cup, tray, wrap or carton. Select the relevant material and request destination-appropriate supporting documents for that component. A decorative printed outer box should not be treated as evidence of food-contact suitability.
03
Counter service & assembly
Flat-packed cartons can reduce storage but require folding and loading labor. Trial the construction during a realistic service period. Check whether the dessert can be placed into the box without touching delicate sides and whether the closed pack is practical to stack or carry.
04
Takeaway versus shipping
Hand-carried presentation and courier delivery are different tasks. For shipping, specify movement control, cushioning and the outer carton. Temperature-sensitive chocolate and fresh desserts need a separate handling plan; the gift box does not establish temperature control or shelf life.
Avoid this specification mistake
Matching only the cake diameter can miss the wider board and taller decoration. Check the finished product in the intended storage and delivery conditions.
FROM IDEA TO APPROVAL
Plan your custom cake boxes project.
01
Measure & brief
Provide Give the full cake-board width and depth, including tabs or a scalloped edge.
02
Review the proposal
Confirm the construction, component list, artwork scope and delivery assumptions. Resolve any differences before comparing quotations.
03
Test the filled sample
Load the cake on its intended board. Record the approved revision and remaining changes.
04
Agree the order scope
Keep material references, inspection points, packing format and the arrival plan together with the written approval.
Send the board footprint, finished cake height, packed weight and loading preference. Include a photograph with a ruler when the decoration extends beyond the board.
Is a taller box always safer?
No. Added height may protect a topper but also allows more empty space and costs more to store or ship. Choose clearance around the actual decorated cake.
Can the packaging be described as food-safe?
Only use an appropriate claim after the exact paper, inks, coatings, liner and intended contact conditions have been reviewed with relevant documentation. A concept image is not evidence of compliance.
PROJECT INQUIRY
Let's work through your packaging brief.
Send dimensions, quantity and destination for a specification review. For artwork or image references, email Jennifer directly.